PowerOffice Go
This integration allows you to seamlessly synchronize data between PowerOffice Go and Fenerum, ensuring your accounting runs automatically and efficiently. The guide walks you through each step from configuring API keys to finalizing revenue groups, so you can manage your integration with confidence.
PowerOffice Go setup
Step 1: Get API Key
To use Fenerum, you need a org. in Poweroffice, and create a Client Key access this is what you have to do:
Go to Settings -> System -> Extensions:

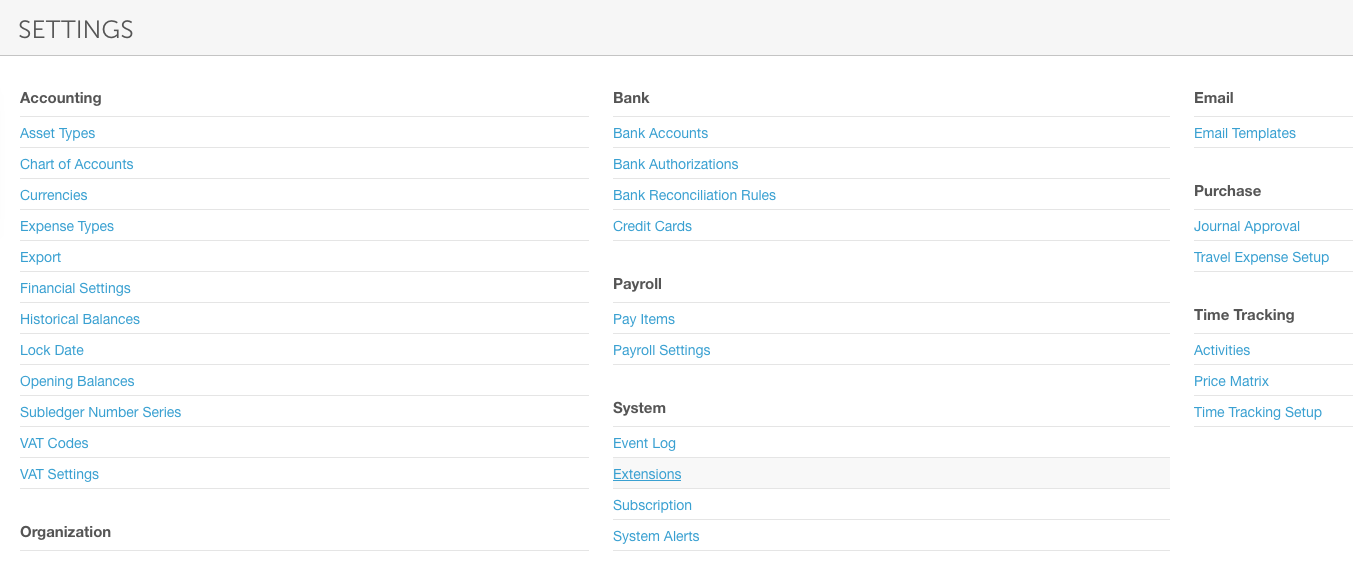
Click "Add Extension":
In PowerOffice Go, click the “Add Extension” button.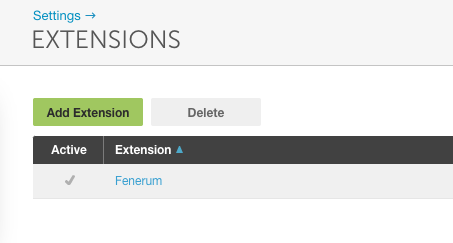
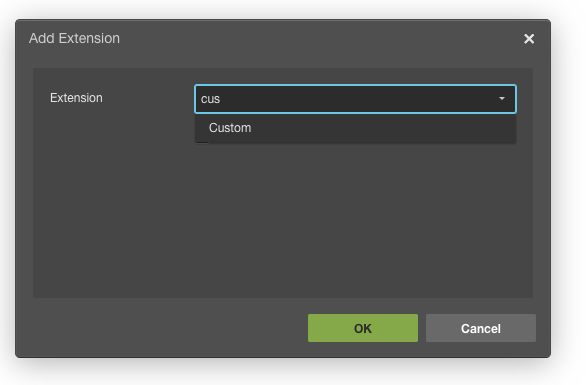
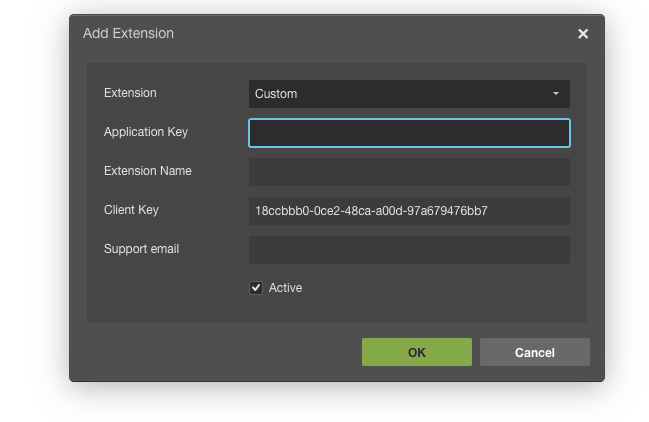
Select "Custom":
Choose the “Custom” option and click “OK”.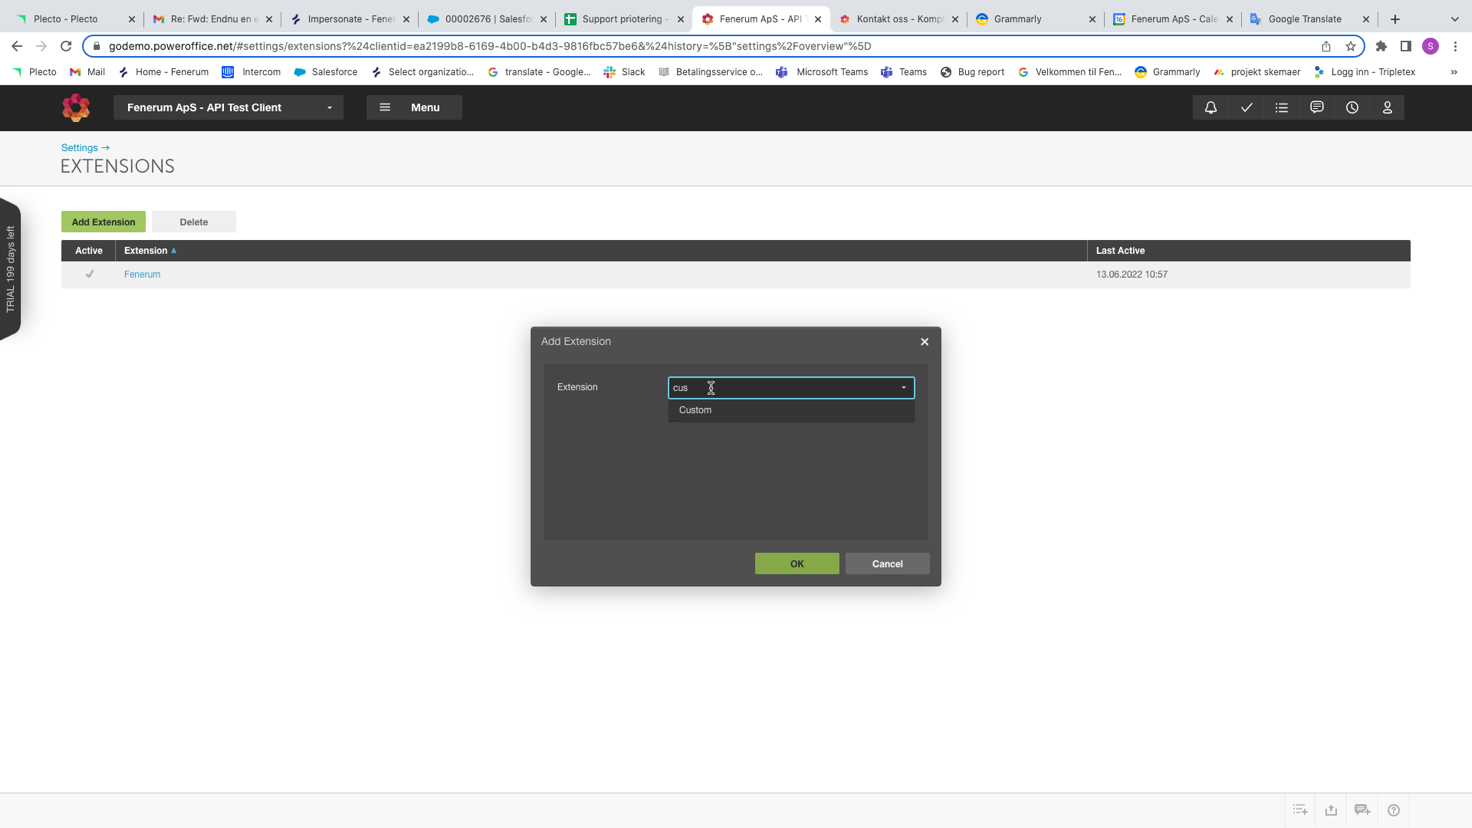
Fill Out the Extension Fields:
In the Application Key field, enter:
1312e9fa-48a2-4750-824c-48a978817f12Copy your Client Key and paste it into the corresponding field.
Step 2: Create new accounts in PowerOffice Go
Access the Chart of Accounts:
Click chart of accounts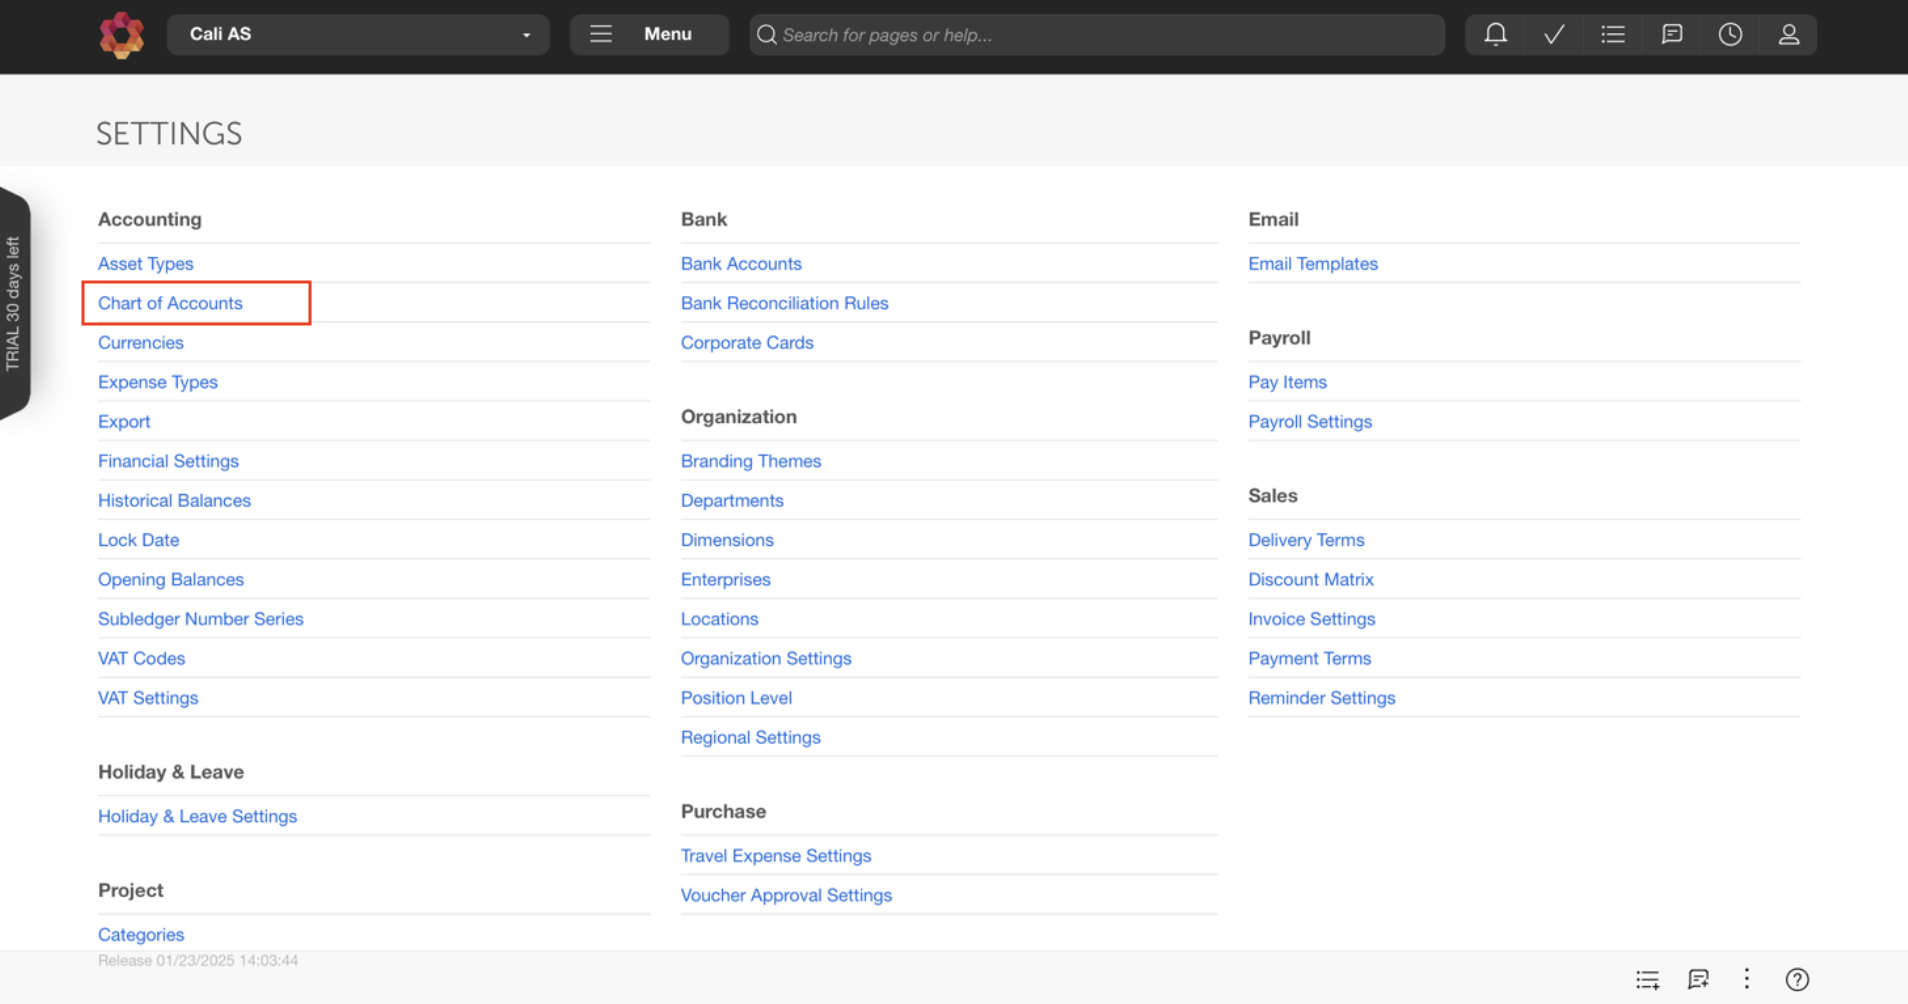
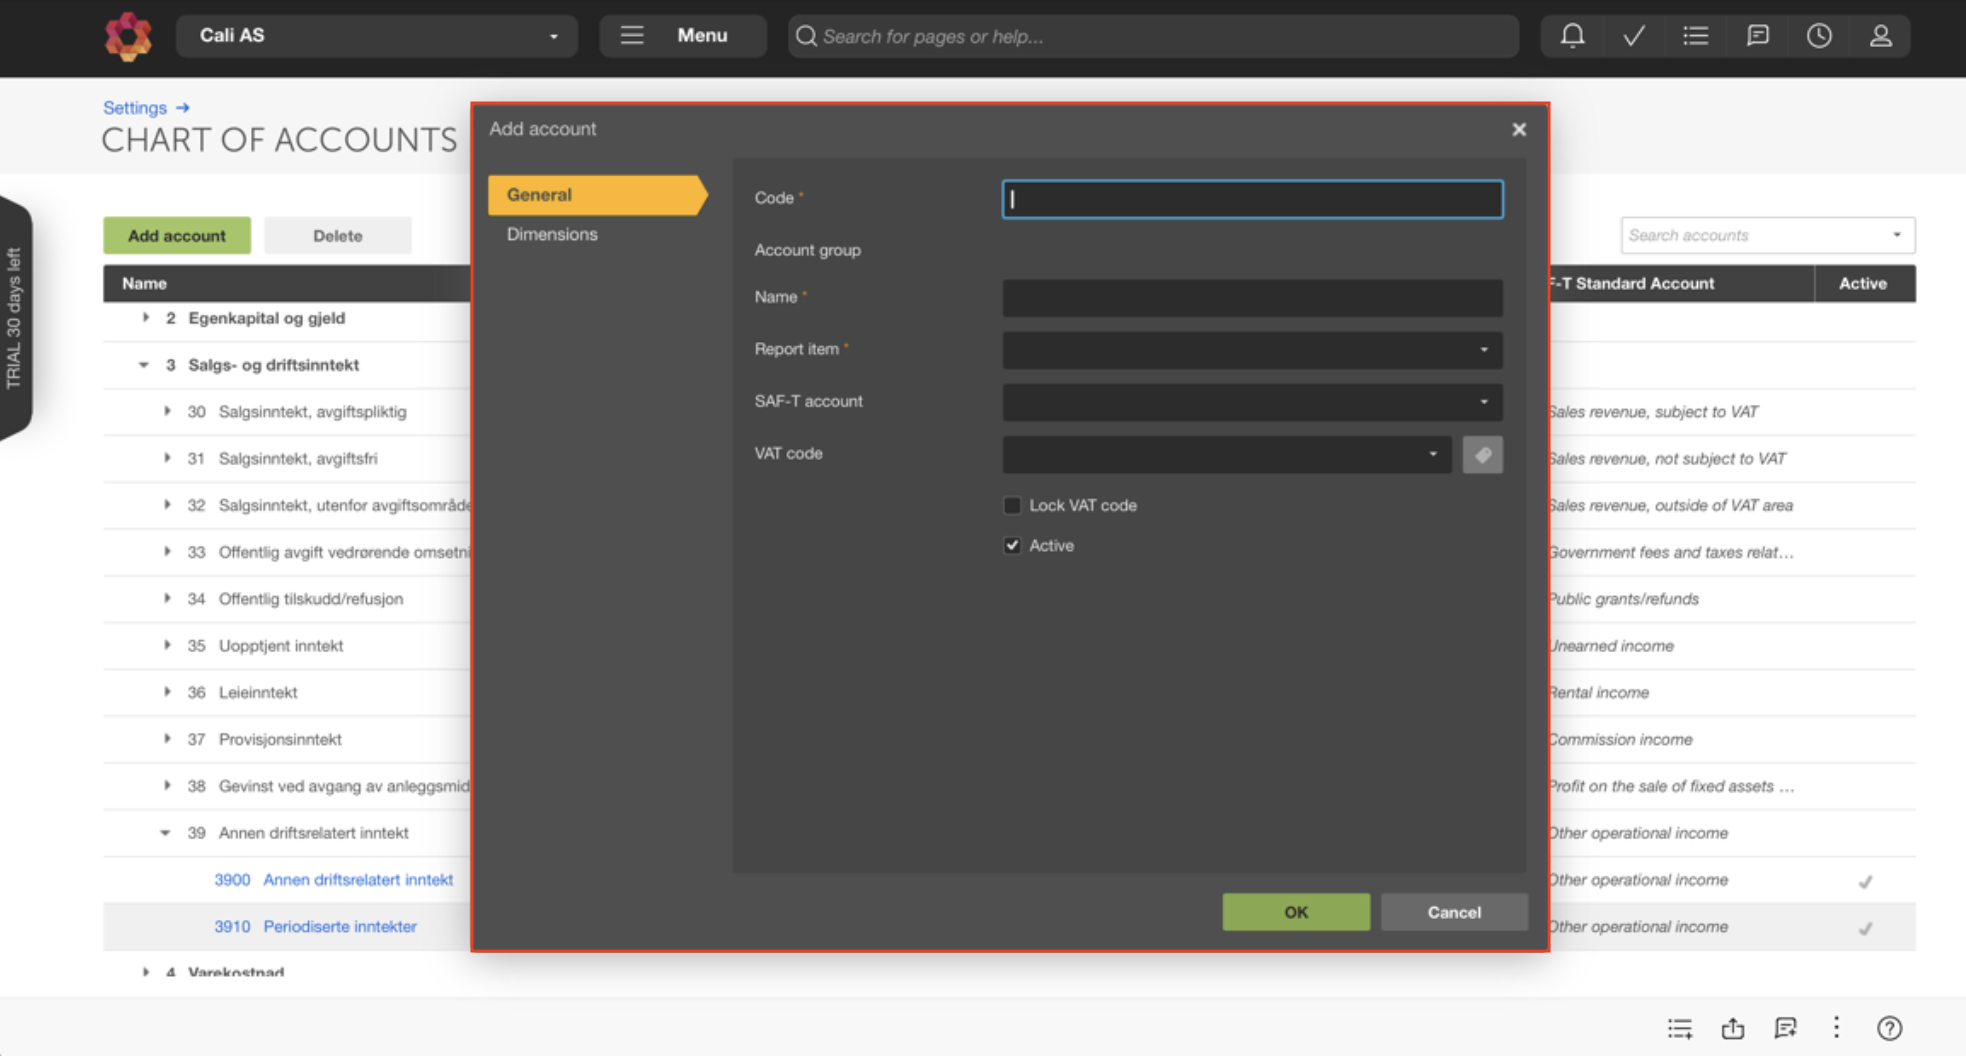
Add a New Account:
Click “Add Account” to create a new account.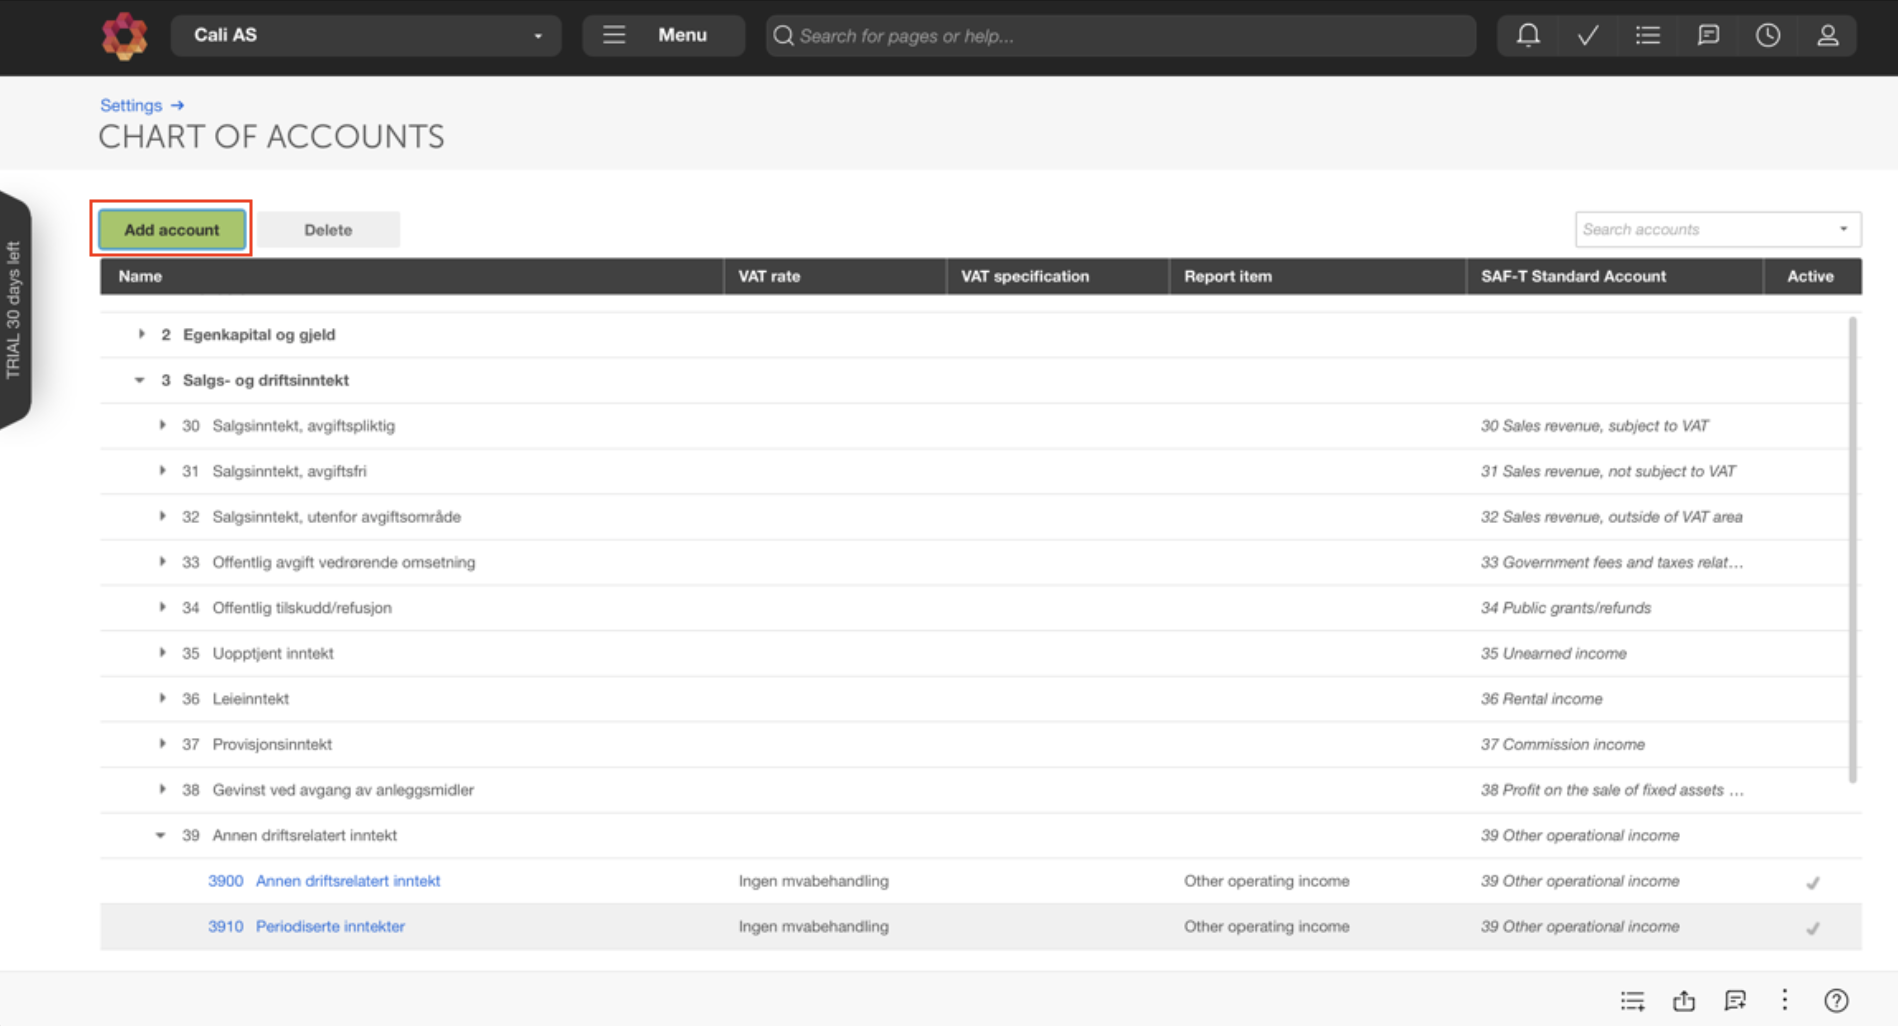
Add a Deferred Revenue Account:
Create a revenue account specifically for deferred revenue.For example: Account 3910 – "Periodisert inntekt"
Step 3: Connect PowerOffice Go with Fenerum
Create a Fenerum account:
Sign up at app.fenerum.com/signup by providing the required company information.Choose your accounting setup:
During the onboarding process, select “Setup with your own accounting system."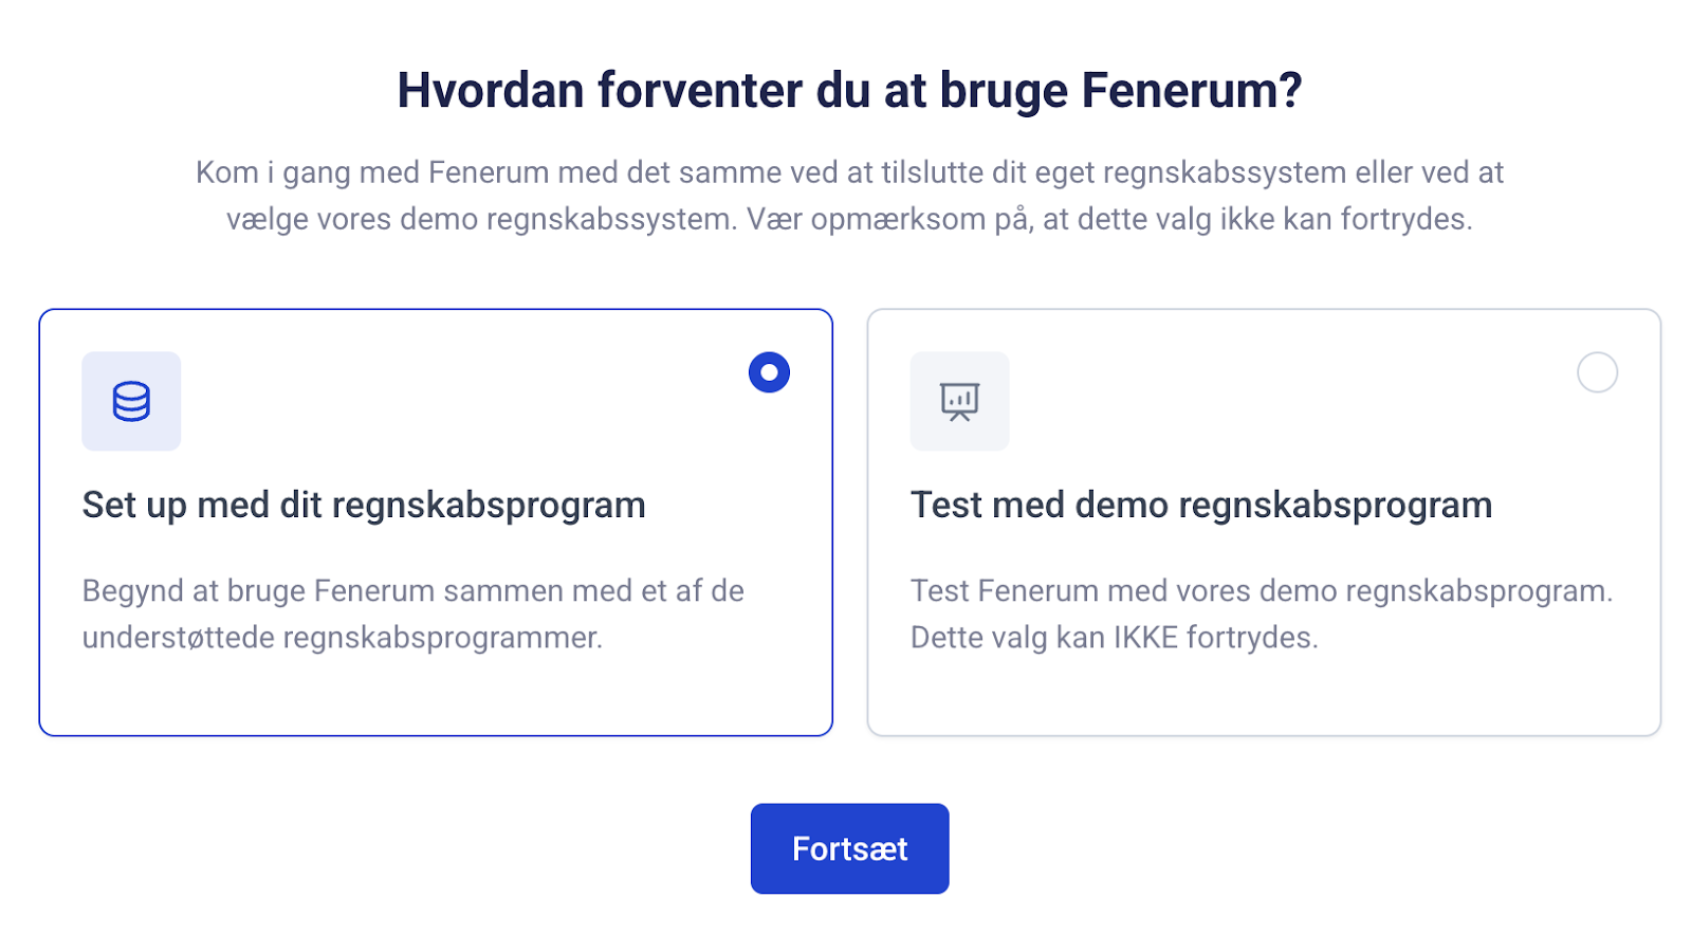
Select PowerOffice Go:
Choose PowerOffice Go as your accounting system.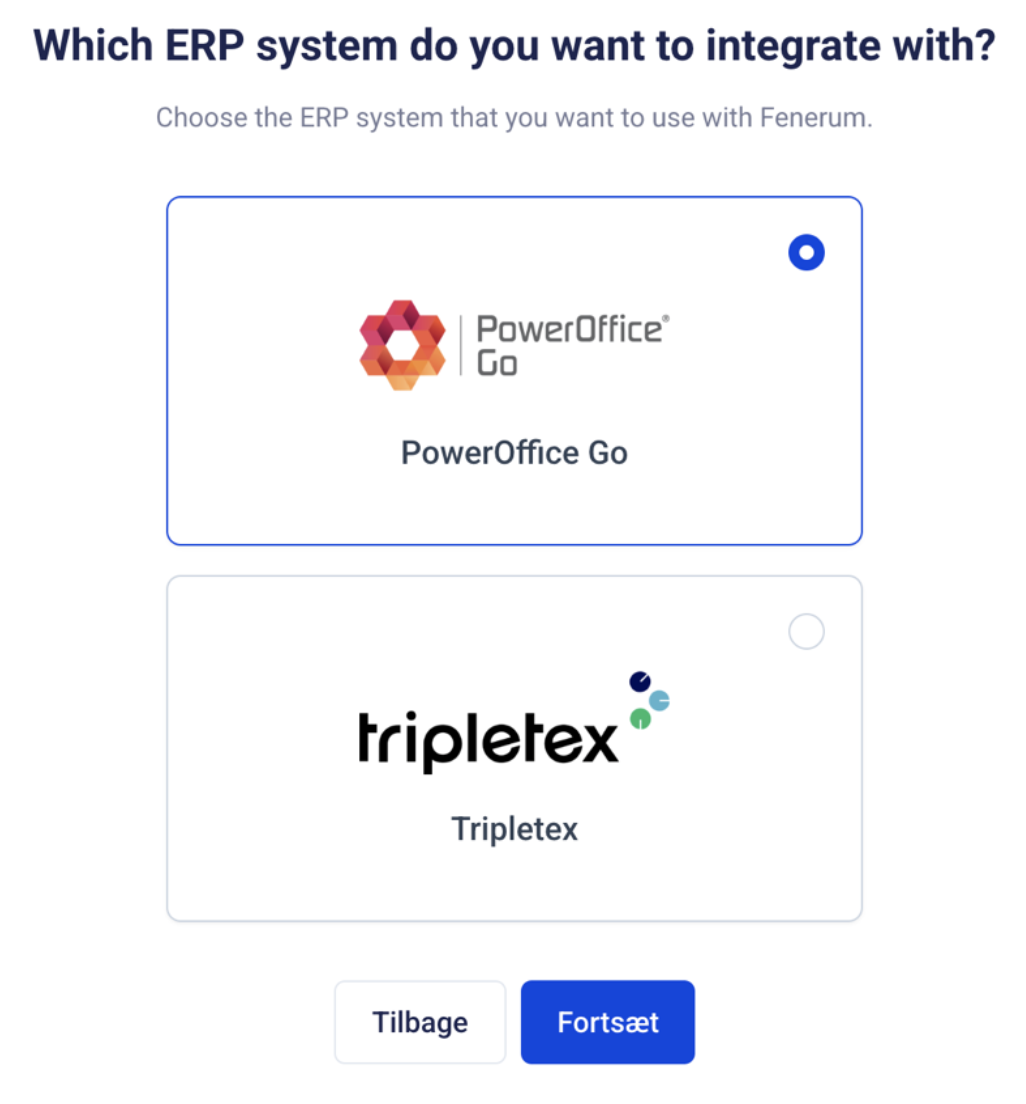
Add client key and click save:
Paste the Client Key from PowerOffice and click “Save.”
Step 4: Configure accounting setup in Fenerum
Fallback revenue account:
Set a default revenue account.For example: Account 3000 – "Salgsinntekt, avgiftspligtig"
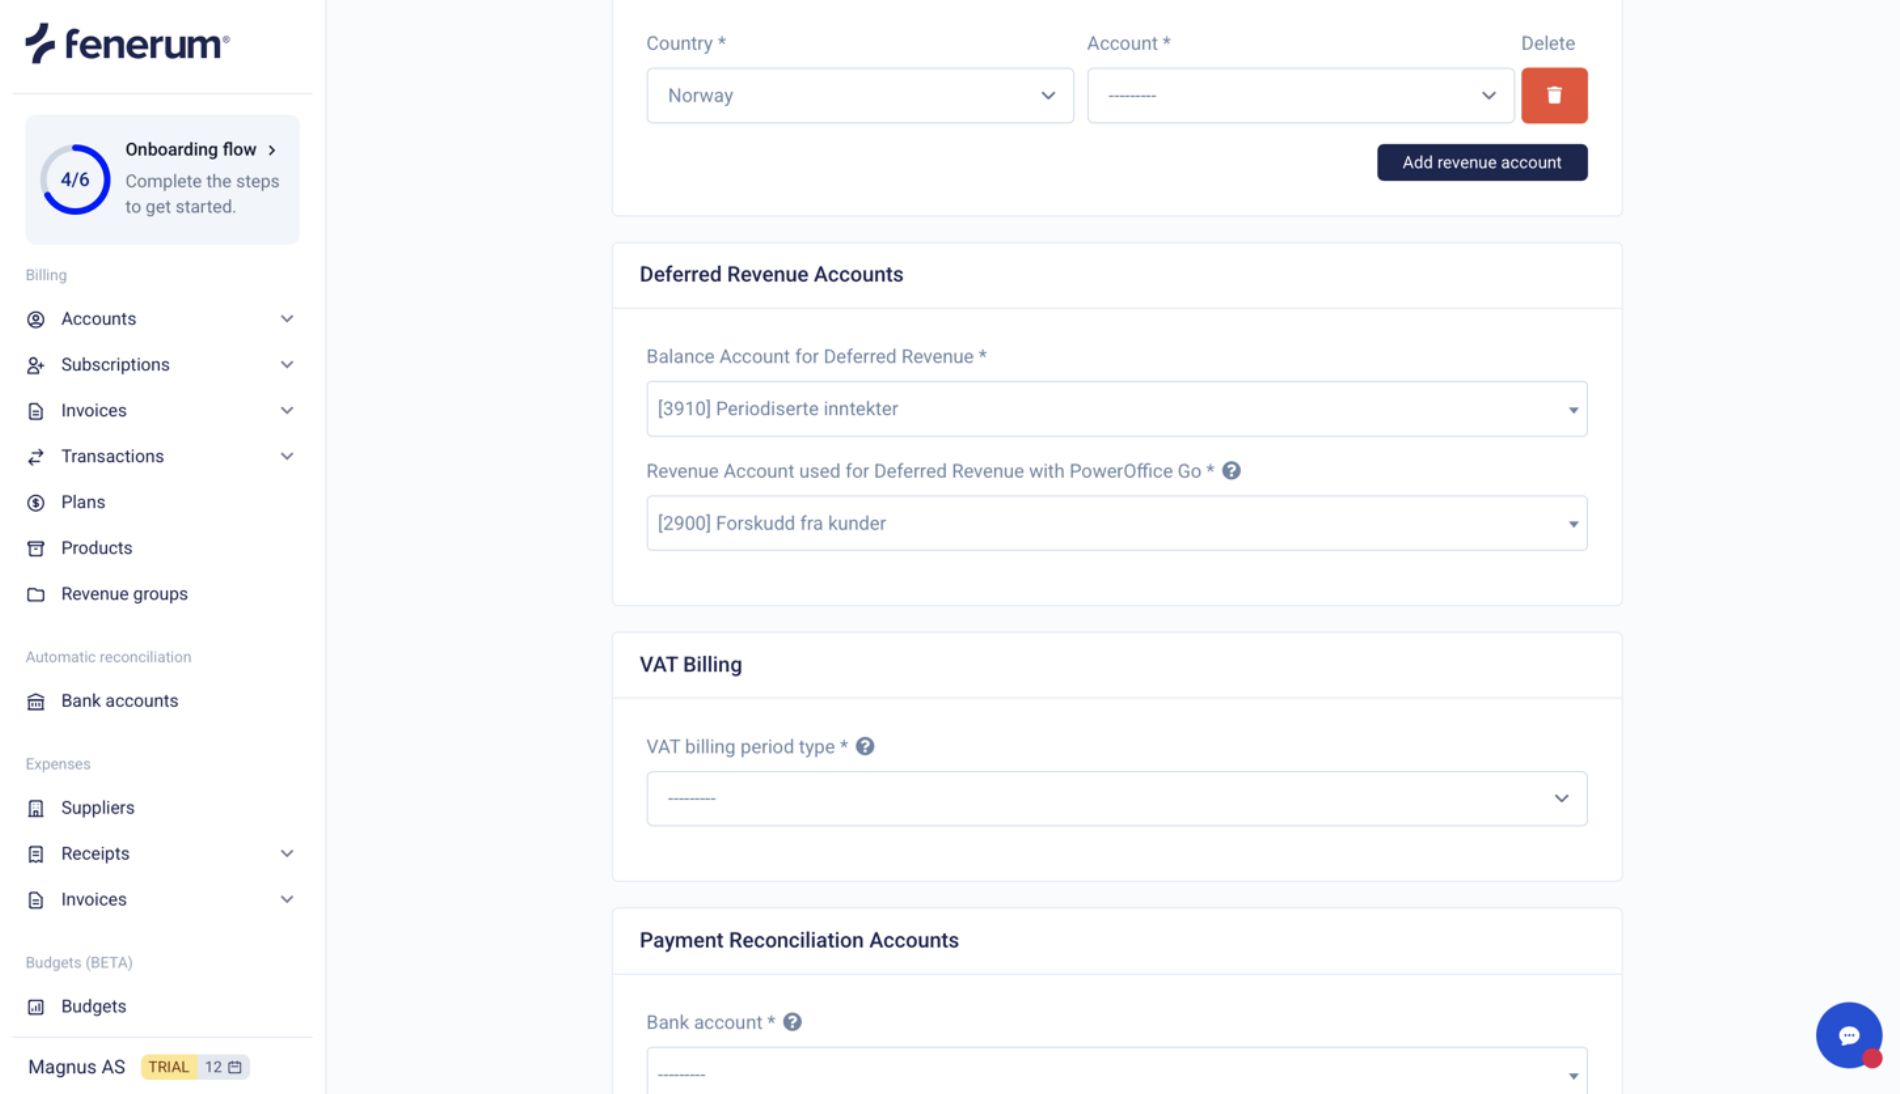
Configure deferred revenue accounts:
Balance Account for Deferred Revenue:
Example: Account 3910 – "Periodisert inntekt"Revenue Account used for Deferred Revenue with PowerOffice Go: Example: Account 2900 – "Forskudd fra kunder"
Step 5: Setup Revenue Groups in Fenerum
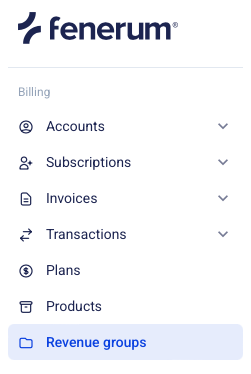
Go the revenue groups setup page: Go to revenue groups in the Fenerum sidebar
Create a New Revenue Group:
Click on “+ New Revenue Group.”
Name the Group:
Provide a descriptive name for the group, such as "Subscriptions Norway".Select Revenue Accounts:
Domestic Revenue Account:
Example: Account 3000 – "Salgsinntekt, avgiftspligtig"
Rest of the world revenue account:
Example: Account 3100 – "Salgsinntekt, avgiftsfri"
Select a Revenue Recognition Algorithm:
Choose the appropriate algorithm for revenue recognition. For additional details, see the Revenue Recognition Guide.Save the Revenue Group:
Click “Save” to finalize the setup.
Currencies
Fenerum uses PowerOffice's feature for auto-adjusting currency exchange differences.
This means that any payment lines (referenced as voucher in PowerOffice) sent to PowerOffice will use the same currency exchange rate as the invoice it belongs to. The difference between the payment currency rate and the invoice currency rate can cause a currency loss (disagio) or currency premium (agio).
PowerOffice will automatically add this difference to the voucher created in PowerOffice to ensure the bank journal is in balance.
